Harvest the sage lightly during the first
year, picking off leaves as you need them. In subsequent years, you can harvest the sage
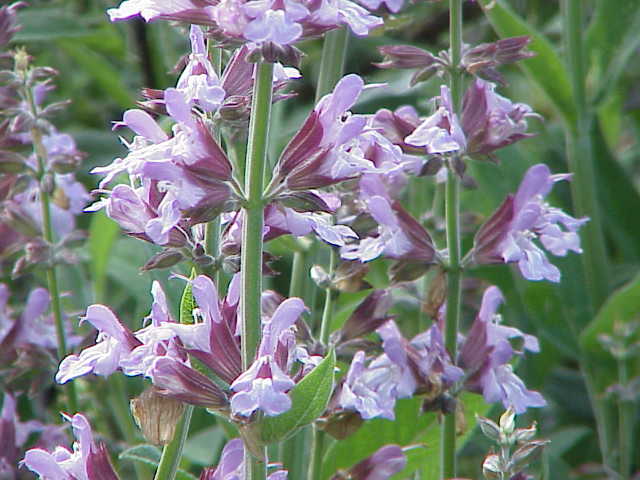
year round by cutting entire stems from the plant. Sage is considered to be at its best just
before the flowers bloom, usually in mid-summer. Do your last full harvest approximately
two months before the first major frost of the year. This gives any newly formed foliage
enough time to mature before winter sets in. Another way to show your sage plant some
extra care (and guarantee it a long life) is to limit what you harvest for the first year of the
plant’s life. Take as little as you can during this time, and give your sage plant the time it
needs to grow fully and give you a more plentiful harvest in the coming years.
Harvest in the morning, after the dew dries. To get the best harvest you can,
wait until the initial moisture on the sage plant is gone – but do it before the midday sun! This is
when the oils on the plant’s leaves are most potent, and you’ll get the best flavor out of your
harvest. Sage is best harvested before the shrub starts to flower. To give your plant some extra
attention, deadhead the flowers as they bloom; this clears the way for more healthy leaves.
Similarly, while sage is typically an evergreen plant that can be harvested for the majority of
the year, you’ll get the best flavor from fresh growths in the summer months.
Pinch the sage leaves off with your fingers to harvest smaller amounts. Gathering sage in
smaller amounts is an easy task: easily harvest individual leaves by pinching them off between
your thumb and forefinger, right above the spot on the stem where two leaves meet. Handle
your sage plant gently as you harvest to avoid bruising it. If just a few leaves won’t cut it and
you need a larger helping of sage, then gather up big bunches by cutting the top 6 inches
(15 cm) of stem off of young shoots. To do this, use either a clean pair of scissors or pruners. By
pinching off a few leaves at the stem, you’re actually encouraging the sage plant to branch,
which will give you a fuller shrub in the future.
Since the flavor and scent of an herb begins to deteriorate immediately after it is harvested,
you’ll find it easier to pick individual leaves of sage on an as-needed basis. However, when
you need a bigger harvest, your sage can be preserved and stored in several ways, including
hang- drying and freezing: Before you begin to dry out the sage, make sure that your leaves
are clean by rinsing them under running water and removing any dead or damaged parts
that you see in the process. Then, dry them with paper towels to remove excess moisture.
This is the first of a couple commonly used sage-drying techniques for you to choose from. Tie
up the stems of your sage in bunches using twine or a rubber band, placing the tie closer to
the cut ends of the stems, and hang them with the leafy ends down until they are fully dried.
Make sure the space you hang them in is well-ventilated and warm, but out of the sun. De-
pending on their condition, a shed, garage, or attic could be the ideal spot to do this.
Before you hang your sage bundles, place each one inside a small paper bag leafy-ends first,
and cut out the bottom of the bag or cut holes in the sides to keep the sage ventilated. This
keeps your sage from collecting dust or getting contaminated while it hangs. Avoid hanging
it above a stove, as odors coming from it can damage the integrity of your sage. While effec-
tive, this method of drying normally takes 2-3 weeks, up to a month, to complete.
Dry your sage in the oven. This is a good method to use if you have individual leaves instead
of bundles. Place the sage leaves on a cookie sheet, arranging them so that they don’t over-
lap, and slide the tray into the oven. Set your oven at its lowest heat possible, and leave the
door to the oven open slightly so that the interior temperature stays around 90–110 °F (32–43
°C). Do not leave the oven door open if you have a gas oven; open every 5 minutes to vent
the heat instead.
Check up on your sage frequently, and expect the drying process to take roughly 3-4 hours.
Only do this if you can keep a close eye on the sage and the temperature within the oven, as
too much heat will cause the sage leaves to lose their flavor. Once your sage is fully dried, it
will easily crumble for storage. Place your dried herbs in an airtight and vapor-proof con-
tainer, and store them somewhere cool, dark, and dry. Cupboards and pantries are ideal
storage spots for this.
Appropriate containers for storing dried sage include jars, ziplock bags, or tupperware con-
tainers. Fully dried sage can be stored in this way for up to a year. While crushed sage can be
easier to store, whole dried leaves can keep their flavor for even longer.
If you need to save pantry space or don’t want to dry your sage, store it in the freezer in-
stead. Chop up all of the sage leaves and place them in an ice cube tray filled with water,
before putting the tray back in the freezer. When the sage-filled ice cubes have fully frozen,
remove them from the trays and each one in plastic bags, which should also be stored in the
freezer. From there, grab sage cubes for use in the kitchen as you need them.
It is possible to harvest both young and mature
sage leaves, but keep in mind that the younger leaves will have a better flavor and aroma
when used in cooking. When harvested and dried, it can be used as a stuffing for poultry, rab-
bit, pork, and baked fish, and can also be used in sausage or meat loaves. In addition to be-
ing used as an aromatic herb in cooking, sage can also be used in potpourri and soap. Here
are some things you can do with sage: make Parmesan and Sage Biscuits, make a Violet and
Sage Cold Sore Cream, make Oatmeal and Sage Soap, make Sage and Ginger Tea.
Replace the plant every three to five years because it will become woody
and straggly. You can either start again with a new plant or seed, or use the old plant for
cuttings or layering: To layer the plant, bend a branch of the existing sage towards the soil.
Use some wire to pin the branch to the ground, about 4 inches from the tip. After about four
weeks, roots will begin to form. Then you can cut the branch and transplant the newly
formed sage plant to another location.
To use cuttings, cut the top 3 inches from the branch of an existing sage plant. Strip the
lower leaves from the stem, or use a scissors to cut them off. Dip the ends in rooting
hormone, then place in sterile sand. Wait 4 to 6 weeks for roots to form, then move to a pot
and later the garden. It is best to take cuttings of plants in early spring, just after you notice
some new growth.
Growing your sage from seed, will likely take a couple years to fully mature.


")
