Let´s create together.  
Edit Content
find a plant

Search by name or category

Lorem ipsum dolor sit amet, consectetur adipiscing elit. Ut elit tellus, luctus nec ullamcorper mattis, pulvinar dapibus leos.

Prickly Pear Cactus

Prickly Pear Cactus

All prickly pears (cacti in the genus opuntia) are edible, though you may find that many varieties are not as tasty, have more spines or seeds than the prickly pears and cactus pads you might find in a store. The prickly pear, which is also referred to as the Indian fig, also has pretty flowers that range from orange to yellow to white. The pads are the flat, green, fleshy parts that make up the majority of the plant. Sizes vary as about 18 in. wide from low-growing cactus to 10 to 15 ft (3 to tall trees. Every part has a lot of potassium, calcium and most importantly protein and many medicinal uses. The flavor of prickly pears has been compared to kiwi, but not as acidic. The cooked pads have a flavor comparable to green beans and a texture reminiscent of okra.

Introduction
Mr. John Doe

Head Director

Description

Optimal Time/Temperature for Germination:
Cactus seeds don’t need direct sunlight the way established plants do. Keep the pots in a shaded area that’s surrounded by sunlight to allow for a warm climate. As the seeds grow, keep the soil moist until they germinate. Prickly pears grown from seeds tend to take longer to grow than propagated plants, and the resulting cacti could take three to four years to produce flowers and fruit. However, growing plants from seeds is important for ensuring genetic diversity.
Optimal Soil Conditions:
Although they prefer desert climates, prickly pears will actually grow in a wide variety of soils, moisture levels, and temperatures. Begin by taking a small garden pot that has a hole in the bottom. Cover the bottom of the pot with a layer of small rocks, which will allow water to drain better. Fill the pot with soil that contains about half soil and half sand, rough pumice, or loam. These soils drain better than ones with a high clay content, and are more similar to the natural desert soils a cactus prefers. (You can also purchase a pre-mixed cactus or succulent potting mix.) To grow multiple prickly pears, prepare several garden pots in this way.
Seed Planting Depth, Spacing and Procedure:
Lay one or two seeds on top of the soil. Gently press the seeds into the soil and cover them with a light dusting of soil. Add a small amount of water. You want the soil to be moist, but not wet. Another way to grow prickly pear is to use a cutting from an established plant. Ask friends and neighbors if you can take a pad cutting from one of their plants if you don’t have any established prickly pears of your own. Select a healthy pad that’s medium or large in size, and between one and three years old. Ideally, look for a pad that’s free of damage, specks, or any deformities. To take a cutting, hold the top of the pad with a gloved hand and slice the pad above the joint where it attaches to the rest of the plant. Don’t cut the pad below the joint, because this can cause infection and the plant will rot. To prevent infection and rotting, you must let the cactus pad cutting form a callous where it was cut before you can plant it. Lay the pad on a bed of soil or sandy soil for one to two weeks, until the cut has healed. Leave the pad in a shaded area while you’re waiting for the callous to form. Transfer to a medium planting pot with stones to allow for drainage. Fill the rest of the pot with sandy or loamy soil, which will also allow for good drainage. The ideal soil will be a half-and-half mixture of soil and sand or pumice. Make a 1 to 2-inch (2.5 to 5 cm) hole in the soil with your finger. Place the pad upright in the garden pot, with the cut end in the soil. Bury the end. Do not bury the end more than 1 or 2 inches (2.5 to 5 cm) deep, otherwise it could rot. If the pad is having trouble standing, surround it with a few rocks to prop it up. Water the plant only when the soil looks dry, about once or twice per week. Place the pad in the sun. Unlike prickly pear seeds, pads need plenty of direct sunlight. However, the pads can sunburn in hot sun, so it’s important to protect the pad from direct sunlight between the hours of 11:00 and 13:00, when the sun is strongest. To avoid having to move the prickly pear constantly, you can position the plant so the broad sides of the pad are facing east and west, so the thinner sides of the pad are facing the sun when it’s at its hottest. This will protect it from sunburn so that you don’t have to move it out of the sun every afternoon. Once the cutting has established roots it will be ready for full sun exposure. To transplant the cactus, choose an outdoor location that gets lots of full sun exposure. Even if you keep the prickly pear in a pot, it still needs to be positioned somewhere that gets full sun. If you live in a climate with colder winters where temperatures dip below 14°F (-10°C), keep the prickly pear in a pot so you can move it indoors when the weather gets cold. Hardiness zones are 9 to 11. Eastern prickly pear cactus (Opuntia humifusa) is a cold-hardy cactus native to the eastern United States. It’s hardy to zone 4 (-30°F / -34°C), which means almost anyone can grow prickly pear fruits at home (even outside the desert). The best time to transplant a prickly pear is in the late spring, when the risk of frost and excessive rain are done. Dig a hole that’s about the same size as the pot the cactus is in. Get the pot as near to the hole as possible. Gently tip the pot upside down and cup the plant with a gloved hand. Place the roots in the hole and cover it with soil. Pack the soil down with your hands and saturate it with water. During the first week, water the plant every three to four days. After that, water the cactus every 3 to 4 weeks. After the first year of establishment, it will not need any extra watering aside from the rain it gets. Cover the soil with mulch in winter. To prevent damage from the cold, even if you live in a warm climate, cover the soil surrounding the prickly pear with mulch in the fall. If you live in a cold climate and have your cactus in a pot, bring the prickly pear inside in the fall to prevent it from freezing. They wrinkle a bit from the cold, but they bounce right back in the spring. Prickly pear cactus is hardy and can be successfully grown as far north as Canada. Indoors, a south-facing window is the bare minimum, and will likely result in poor growth. The soil pH for thriving is 6.0 to 7.5. Can also plant on sandy slopes or dry prairie areas.
Best Companion Plants and Plants that Hinder:
Pick companion plants that will enjoy the same growing conditions – ceanothus, kniphofia, rockrose, leptospermum, yucca, agave, or other succulents, lantana, kangaroo paws, gazania, lavender, and ornamental grasses work well also.

Growing Instructions

Crop Maintenance

Moisture Requirements & Solutions:
Water the soil when it starts to become dry to the touch while in development.
Weeding Needs & Solutions:
Depending on the cacti and on how big the patch is, you can sometimes weed from down below, very close to the ground, with relative freedom from getting stuck. Weeds pull up easier after a rain. Weed sprays will harm the cactus. Using a handled weed scuffle hoe is helpful to remove.
Feeding Needs/Optimal Natural Fertilizers:
Prickly Pear Cactus grows very slowly and doesn’t require added fertilizer. Replacing your plant’s potting soil once a year should provide them with more than enough nutrition. Remember, plants get their energy from sunlight, not fertilizer.
Pests, Diseases & Solutions:
Because of their spiny nature, prickly pear cactus are deer resistant. Prickly pears don’t normally suffer from any serious disease or insect problems, although they can be affected by rot if grown with poor drainage.
When to Harvest/Number of days to maturity:
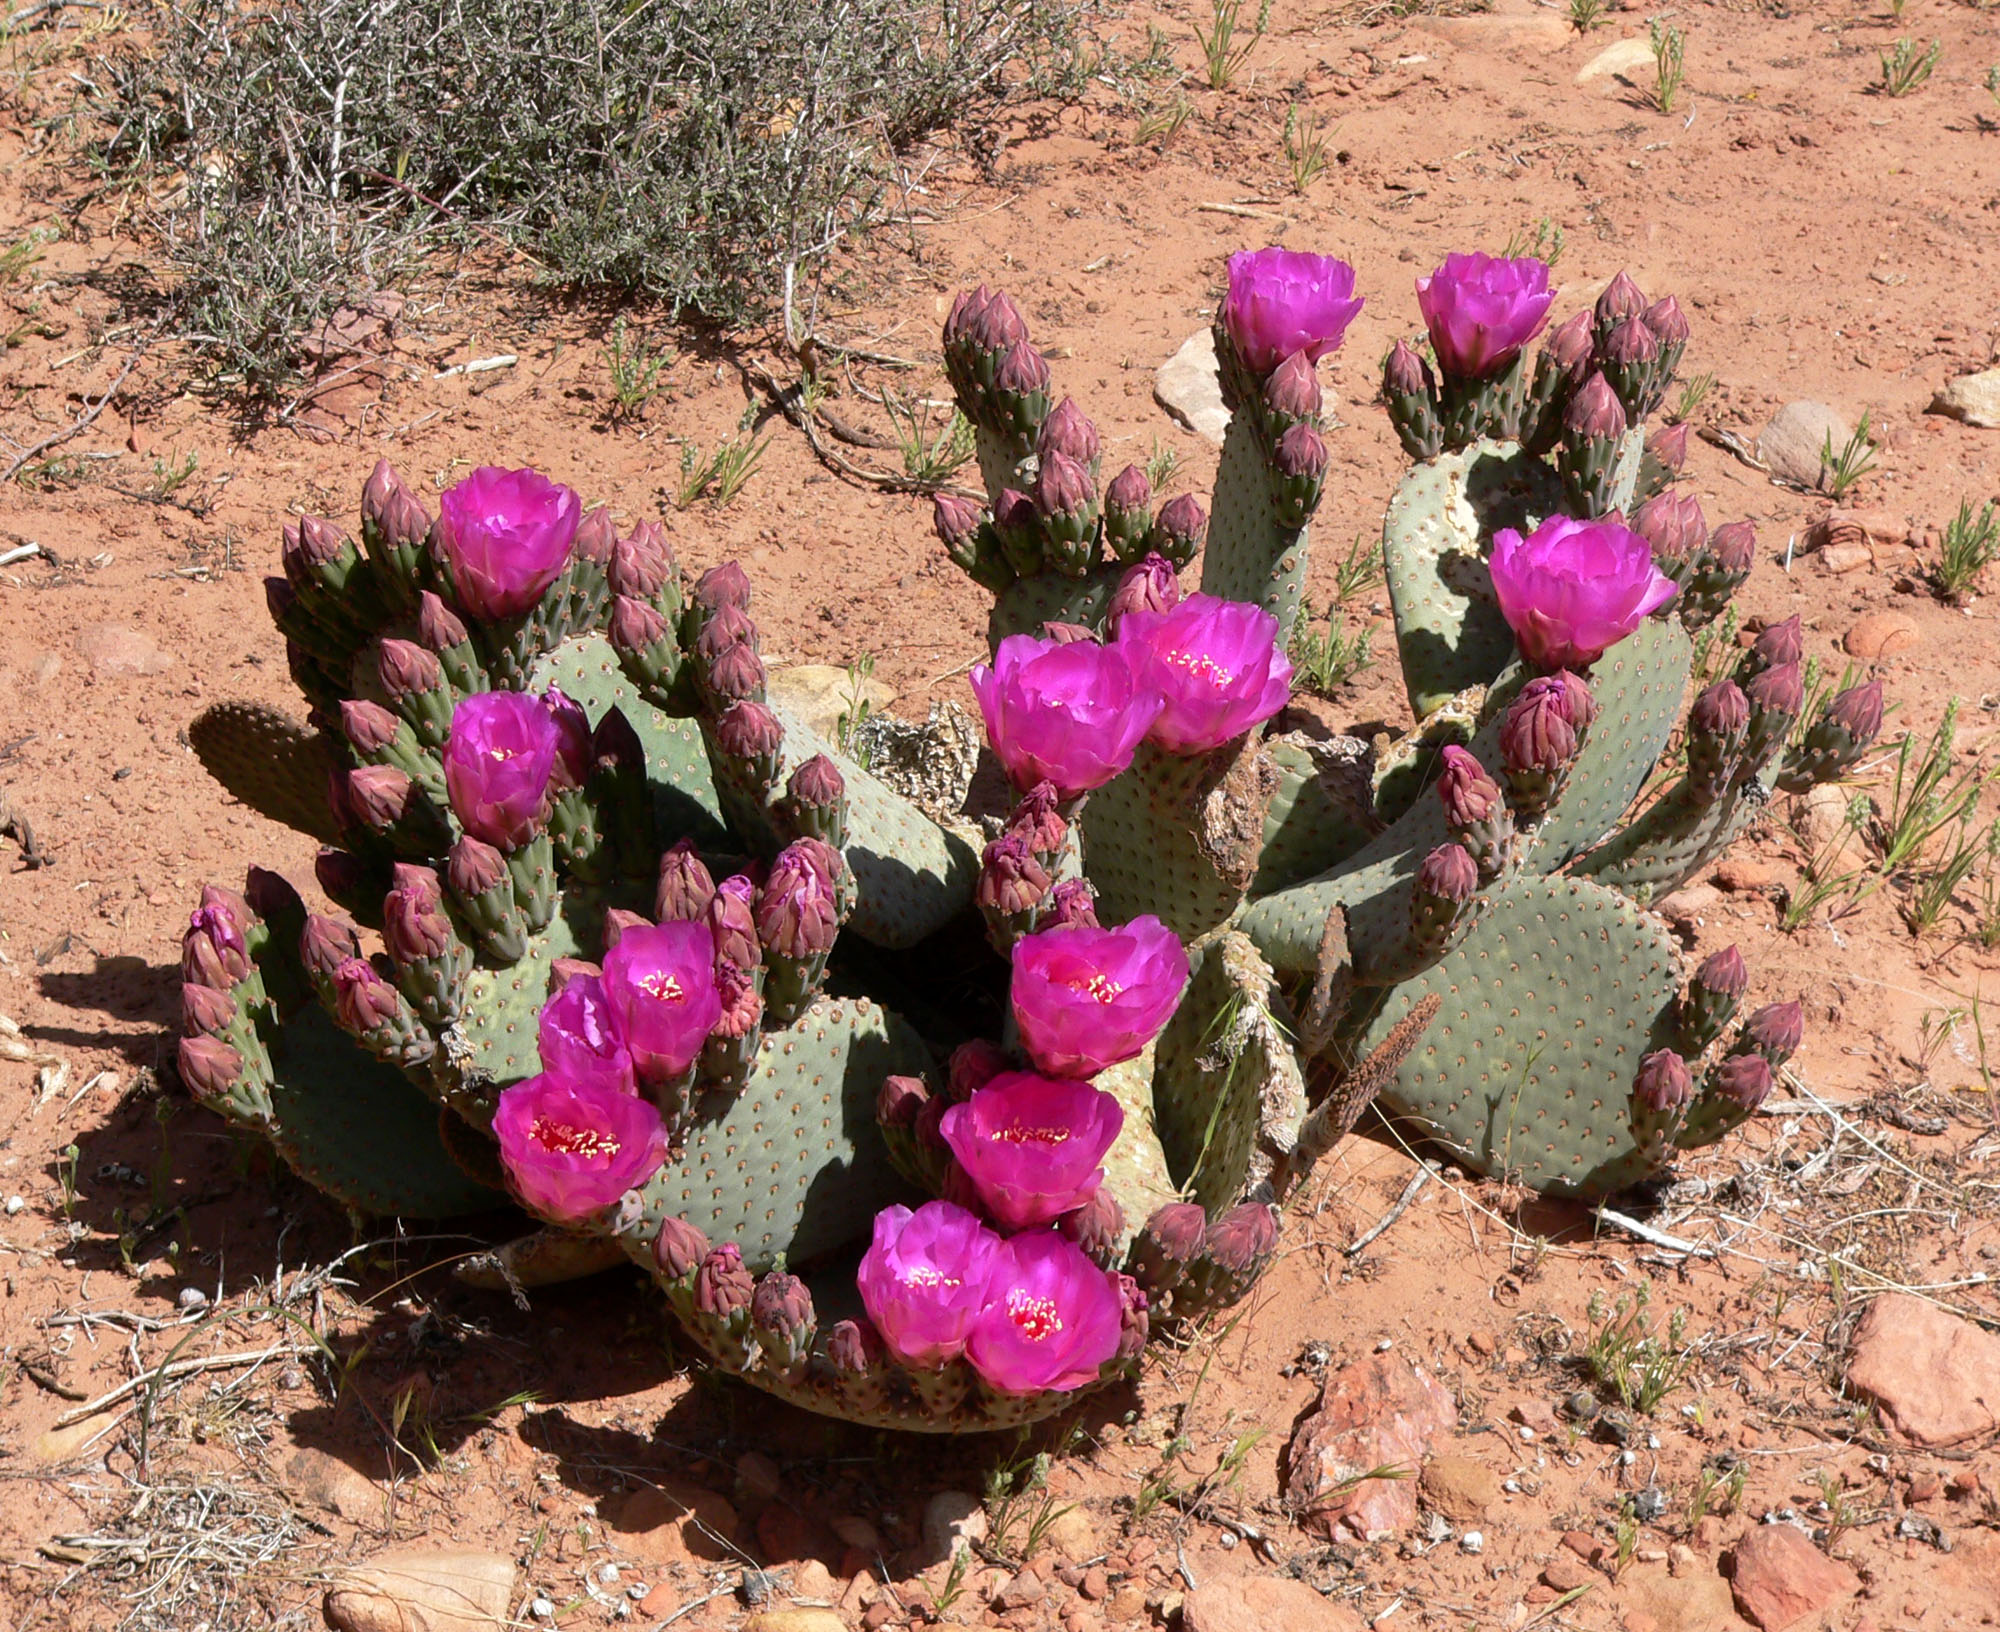
Let the prickly pear cactus establish itself for several months before harvesting pads or fruit. Wait for the plant to grow a second or third pad before harvesting pads and wait until there are at least eight blooms on a pad before harvesting the fruit it produces. 
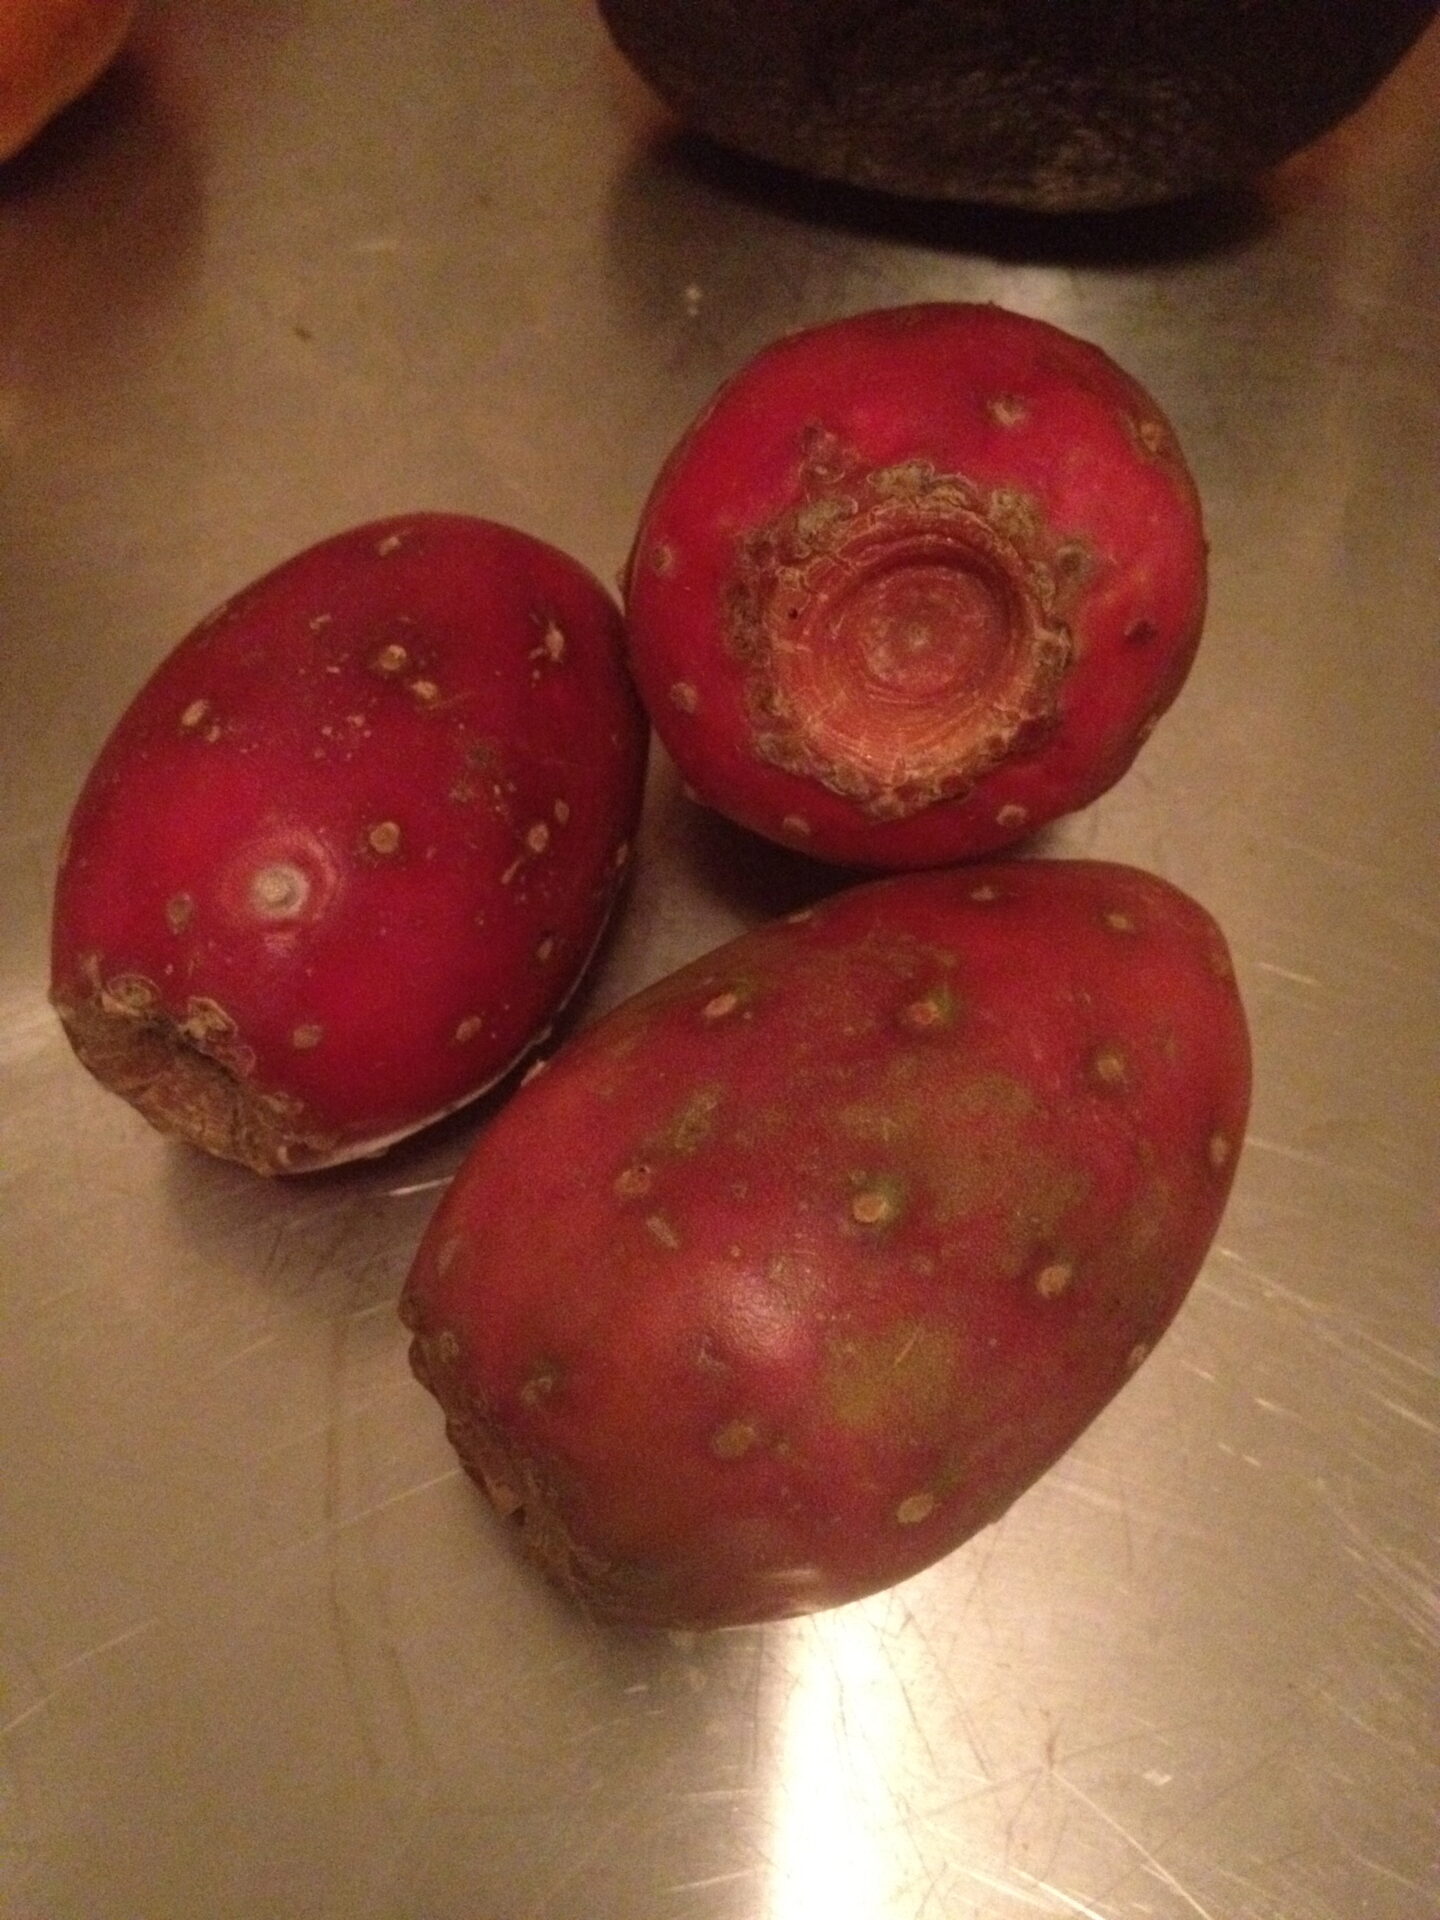
Regarding the prickly pear fruit, the pears with the reddish-orange or purple skin and deep purple interiors are considered to be the sweetest, but the white-skinned varieties are more popular in Mexico. If you’re foraging for prickly pears, remember that while all pears are edible, only a few will actually be ripe and taste good. Get them when they are bright purple and look like rat food, just before starting to wrinkle.
How to Harvest:
Cut pads with a sharp knife in the late morning or early afternoon. This is when the acid content is lowest. Remove the pads just above the joint. Harvest fruit by twisting the fruit and gently pulling it away from the pad. You know the fruit is ripe when the glochids, or thorns, fall off the light or dark colored bumps on the fruit. Find pads that are bright green and firm. Small, young pads harvested in early spring are thought to be the most succulent, delicate in flavor, and have the fewest spines. The thicker a pad, the older it is. Older pads tend to be stringy and their sap will be thicker, which some people find unpleasant. Leave those for other species who use them as survival food during lean foraging seasons. The tender pads are sometimes sold as “baby nopales”. If you’re harvesting them yourself, wear extremely heavy gloves or use tongs. Snap the pads off the plant or cut at the stem. Cutting at the stem reduces stress on the pad, and allows the cactus to recover more quickly than snapping or tearing the pad away. This helps keep your cactus plant healthy for future harvests.
Optimal Storage temperature and conditions:
The prickly pear plant has three different edible sections: the pad of the cactus (nopal), which can be treated like a vegetable, the petals of the flowers, which can be added to salads, and the pear (tuna), which can be treated like a fruit. Remove the spines from the pad by using a vegetable peeler or a paring knife. Don’t take off the gloves until the pads are completely rinsed and the peeled remnants are cleared. The pads not only have large spines, but there are also tiny, invisible and far more irritating spines called glochids that are extremely difficult to remove from the skin. The spines and glochids can also be removed from the prickly pear pads by burning them off with a small torch or by placing the pad on a gas burner and turning it with tongs. Run the pad under cool water. Peel or cut off any discolorations or bruises. Slice or cut the pads (wipe the knife blade after each slice, as there can be small spines sticking to it), or leave them whole, depending on what you will be using the nopales for. To store nopales in the refrigerator, make sure they are fresh and unwrinkled. Wrap them tightly in plastic wrap. Nopales can be stored for up to 2weeks. To cook nopales, they can be either boiled or grilled, as well as mixed with other ingredients. If you boil the nopales, you may sometimes have to drain and re-boil them once or twice, depending on how thick the sap is. The thicker the pad, the thicker the sap. Boiling them with a copper coin (an old Mexican “veinte”) is a common remedy to thin the sap and make it more palatable to unaccustomed diners. The boiled nopales are then drained, washed off with cold water and served as a salad with finely diced tomatoes, onion, cilantro and jalapeños and seasoned with vinegar, salt and lime juice. If you grill the nopales, you might want to coat generously with pepper, salt, and other spices. They’re ready when they’re tender and slightly browned. Grilled nopalitos strips can be seasoned with fresh lime juice and a little olive oil. You can also add grilled portobello mushrooms to the mix. Try stirring the cooked nopales into soup, mixing them into a salad or omelet, pickling them, or eating them alone. For the pear fruit, remove the spines and place the pears in a plastic colander 5 or 6 at a time under cold water. Swirl the pears around for about 3 or 4 minutes not bruising them. Doing this washes all the fine blond hairs away, now you can handle them prickly free. Skin the pears. All the hairs gone slice off the thicker skin at both ends of the prickly pear (the bottom and the top). It takes a little practice to know how much to slice off. Generally, you want to take off the skin without getting at the seed-filled center. Cut lengthwise along the pear’s top-bottom center line just through the skin. Using that slit, use the knife to lever the skin and peel it off of the rest of the pear. Cut the pear into slices, or stick onto a fork or skewer and serve. The flesh of the prickly pear can be used to make jam, jelly, sorbet, and cactus candy. The seeds can be consumed with the fruit (but be careful not to bite into them, as they’re quite hard) or spit out. Some people eat the seeds in soup or dry them to be ground into flour.
Optimal Preserving Procedures:
Seed Saving:
To obtain the seeds, gather the Prickly pear fruit that grows off the top of the prickly pear plant (red egg shaped fruit): Put on gloves to protect your hands from the thorns. Slice the ends off the fruit. Stand the fruit up on one end. Make a thin, vertical slice down one side of the skin, and carefully stick a finger underneath. Peel away the skin by unwrapping the fruit like an orange. Use your fingers to break apart the flesh to find the seeds, which are studded throughout the fruit.

Harvest and Storage

Notes

To grow a prickly pear, you can buy an established plant, germinate seeds from the fruit, or propagate a new plant from an existing one. While cacti are extremely drought tolerant, they still require water. If it is not growing, it likely needs additional water. Cacti also are intolerant of shade. Prickly pear is considered a weed or invasive species in some areas where the plant is not native. Where considered invasive (regions of Australia) you aren’t permitted to plant prickly pear. All prickly pear varieties are edible, saguaro cactus fruit is edible (though not easy to come by), organ pipe cactus and barrel cactus fruit is edible, as is dragon fruit, which grows on a cactus. There are several other types of cacti which are eaten throughout the world, but these are some of the most common. If grilling on an open fire the spines will burn off. This can also be used to feed livestock on a short term basis. To get the fine spines out of your hands, first soak your hands in hot water, then use a credit card to flick them off. Another method if stuck in skin is don’t bother with tweezers. Instead put a thin layer of Elmer’s glue over the spines. Let the glue dry until there is a solid new skin on your hand, then peel it off. The spines will peel off painlessly with the glue. The glochids actually are barbed and will work into your skin if you are not careful. If you don’t have Elmer’s glue handy, duct tape or strong tack masking tape can remove the glochids. Use spineless varieties where people or animals might come in contact with them, or simply to get the look and not the poke!

From the same Category

0 0 votes
Article Rating
Subscribe
Notify of
guest
0 Comments
Oldest
Newest Most Voted
Inline Feedbacks
View all comments

Contact to Listing Owner

Captcha Code
0
Would love your thoughts, please comment.x
()
x