Let´s create together.  
Edit Content
find a plant

Search by name or category

Lorem ipsum dolor sit amet, consectetur adipiscing elit. Ut elit tellus, luctus nec ullamcorper mattis, pulvinar dapibus leos.

Mushrooms

Mushrooms

Plants that lacks chlorophyll and get its nutrients from organic matter like trees, leaves,
dead wood, and waste. “They are nature’s decomposers, organisms that recycle all the dead animals
and plants that accumulate during the course of a normal life and death cycle. Without mushrooms,
and other fungi, the earth would be awash in plant and animal debris. Our soils would not be
replenished with fresh humus and our forests would be piled high with leaves, branches, and fallen
logs,” from Reishi Mushrooms by Terry Willard.


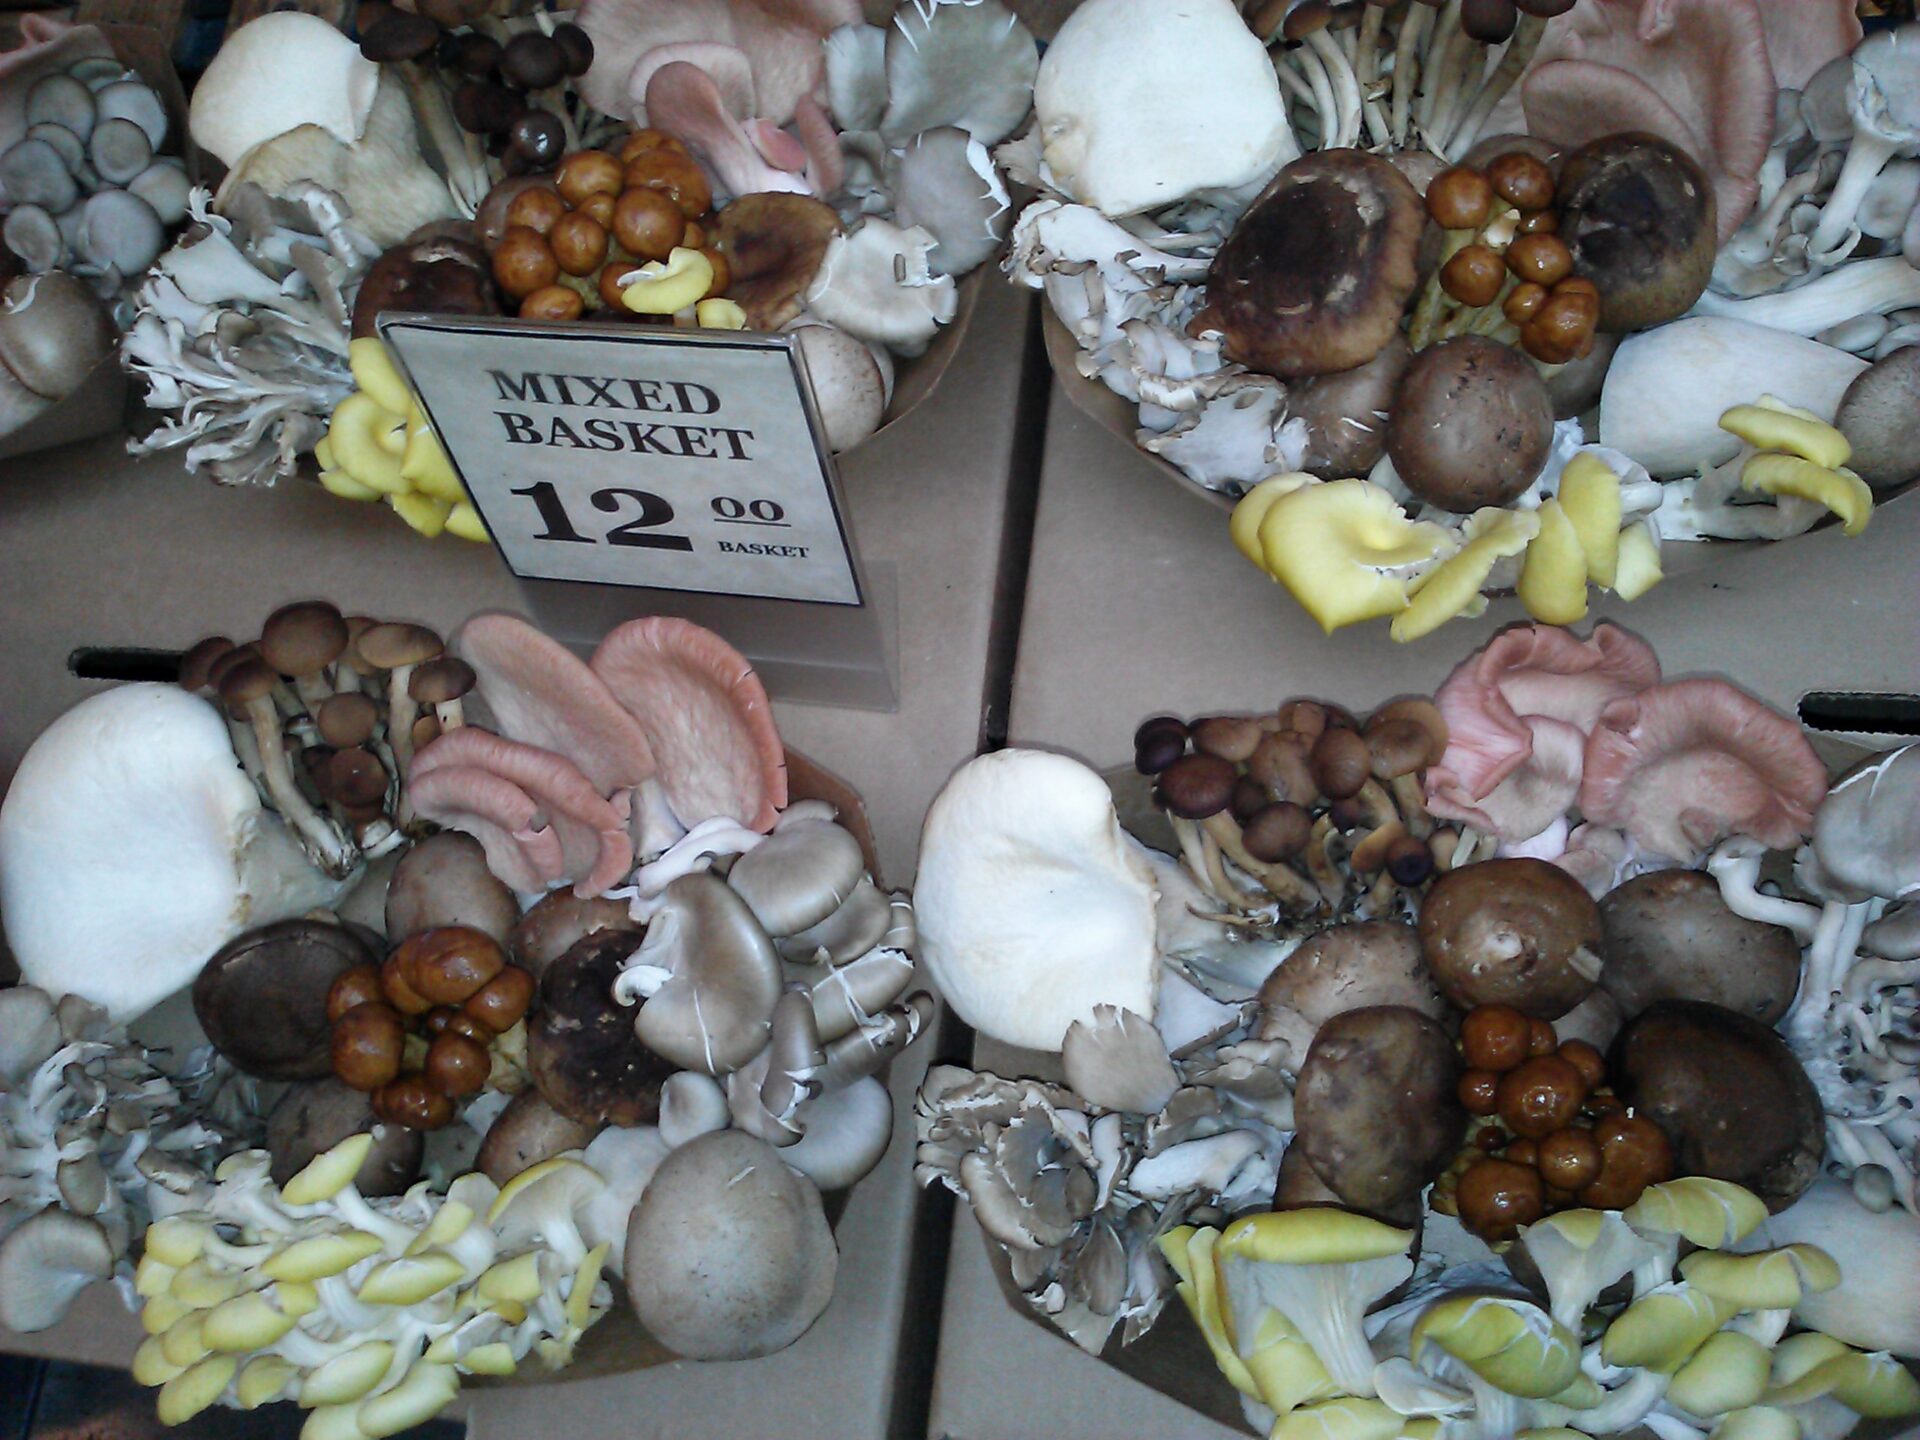
Examples of produce part of stores are Cepe, Chanterelle, Button, Morel, Porcini. Medicinal orientals
are Enoki, Oyster, Reishi, Shiitake, Tree ear.


Most hobbyists start out with Oyster, the easiest type to grow, but once you learn the tools of the trade
you can try your hand at dozens of species

Introduction
Mr. John Doe

Head Director

Description

To get started, buy them online, in a home gardening store, or in a home brew supply store in the form of “spawn”: spores or root-like mycelium stored in sawdust,grain, or agar. You can buy the spawn alone or as part of a complete oyster mushroom kit. Any oyster mushroom variety will work, but blue grey oysters and pink oysters are especially easy and quick to grow. Mushroom spawn deteriorates over time. Put it in substrate as soon as possible, and refrigerate it if you can’t use it immediately. ‘Plug Spawn’ is a slow but easier alternative. Drillholes in the side of a newly fallen hardwood log (avoid softwood or pine because it will inhibit the growth), insert the plugs, and wait for damp weather. If your kit came with a large bag of straw, that’s a ready-to-go substrate, or material that provides nutrients and a place to grow. If you only have a small container of mushroom spawn,you’ll need to make your own substrate, and heat it so only beneficial microbes can grow. Here are two ways to make a substrate: Spawn in Sawdust: cut corrugated cardboard into a few inches square equal size pieces, put the cardboard into a bucket and weigh down, add boiling water to submerge, cover with lid and cool for 8 hours, wash hands, squeeze out as much water as you can. Spawn in Grain: Choose a straw like rye or wheat, cut into 3-4 inch (7.5-10 cm) lengths using a shredder or weed whacker in a garbage can, tie in a pillowcase or nylon mesh laundry bag, submerge In pot of water on stovetop, heat at 160-170 degrees Fahrenheit (70-75 degrees Celsius) for 1 hour, drain well and let cool to below 80 Fahrenheit (27 Celsius).
Optimal Time/Temperature for Germination:
Optimal Soil Conditions:
Seed Planting Depth, Spacing and Procedure:
To minimize competition from other spores, wash your hands first and inoculate (adding the spawn to the substrate) as soon as the substrate is ready. Mushroom kit with Included Substrate: Sterilize the syringe and inject spawn into the grow bag through the small hole, or into the tray of substrate at several points. Cardboard Substrate: Stack the cardboard squares inside a food-grade plastic bag. Sprinkle a little spawn between each layer as you stack. (Break up the spawn by hand if it’sin a solid clump.) Homemade Straw Substrate: Wipe a table with 70% isopropyl alcohol. Spread the straw out on the table and break up the spawn over it, mixing thoroughly. Transfer to food-grade plastic bags until they are full but not compressed. There’s no exact ratio of spawn to substrate, but you can start with a mix that is 2 or 3%spawn by weight. Adding more spawn helps the colony grow faster and resist contamination. Tie the top of the plastic bag closed. Punch holes into the sides of the bag every 3 inches or so (7.5 cm), plus a few more in the base to allow for water drainage. The mushrooms need ventilation to grow quickly and reliably, or carbon dioxide build-up will interfere. (Most bags included in mushroom kits already have holes, or an air filter system that makes holes unnecessary.)
Best Companion Plants and Plants that Hinder:

Growing Instructions

Crop Maintenance

Choose a location with steady temperature. The spawn is ready to colonize the substrate with mycelium. Most strains do this best at temperatures between60º and 75ºF (16–24ºC). Even small variations in temperature can decrease mushroom yield or encourage contamination, so try to find a room that stays at this temperature 24hours a day. Mycelium can grow at any light level except direct sunlight. Some growers find they get better results with low light on a daylight cycle (real or simulated). However, if you are using straw, too much light can cause grain to sprout and interfere with mushroom growth.The ideal temperature depends on the strain. If your spawn came with instructions for a growing environment, follow them. It takes two to five weeks for the white, feathery “roots” called mycelium to spread throughout the substrate. During this time, all you need to do is check on the moisture level every few days. If the substrate feels dry to the touch, mist it through the holes in the bag. If you see standing water inside the bag, poke more drainage holes in the base. Mycelium is white. If you see large patches of another color, mold has contaminated the bag. Throw the bag away and wipe the area down with isopropyl alcohol before trying again. Next step is to move the bag to a fruiting environment. Once the mycelium has formed a thick mat inside the bag, it is ready to fruit (produce mushrooms). Mushrooms will not fruit without light. Provide at least enough to read by during daylight hours. Use indirect daylight, a grow light that mimics daylight, or (less effective but cheaper) a cool white bulb. The fungus needs fresh air to clear out carbon dioxide, which prevents fruiting or leads to small mushrooms. Open the top of the bag and ventilate the area with a light cross breeze.Lower the temperature, ideally to 55–61ºF (13–16ºC). Increase humidity to at least 80%, ideally to 90–95%, by running a humidifier or hanging plastic sheets around the grow bag.This part doesn’t have to be perfect, but other conditions can affect the yield, shape, and color of your mushrooms.
Moisture Requirements & Solutions:
Water lightly. Over or under watering are common problems at this stage. To prevent drying without soaking the mushrooms, lightly spray the inner walls of the bag once or twice a day. If the growing mushrooms turn brown, or new mushrooms start to grow on an older mushroom’s surface, the substrate is probably too dry. If the caps of the mushrooms feel clammy or sticky, the substrate is probably too wet
Weeding Needs & Solutions:
Feeding Needs/Optimal Natural Fertilizers:
Pests, Diseases & Solutions:
When to Harvest/Number of days to maturity:
Oyster mushrooms take about three weeks for the first fruiting, but can take up to six weeks depending on the variety and growing conditions.After the first harvest, you’ll usually get at least one more, spaced anywhere from three to fourteen days apart. Most other species take a bit longer to grow.
How to Harvest:
Mushrooms start as tiny “pins,” then grow rapidly over the next few days if conditions are right. Once they have reached full size, press down on the substrate with one hand, then use the other to twist the stalk off at the base. You may eat them immediately or dry them for later use. Continue harvesting mushrooms. Most spawn is good for at least two producings and some will continue growing for three or four months. Keep the substrate lightly moist and continue picking mushrooms until they stop appearing. If you’re not sure what a fully developed oyster mushroom looks like, wait until the edges of the first mushroom go wavy. This is slightly past optimal harvesting point, but still edible. Pick the other mushrooms just before they reach the size of the first. Tiny, aborted mushrooms are common in some strains. Leave them in place without picking them.
Optimal Storage temperature and conditions:
Chop and use in cooking recipes or boil in a little bit of water for tea. To dry mushrooms get a box fan, two or more air conditioner filters (not fiberglass or plastic) and bungee cords. Clean and slice the mushrooms and lay them in the pleats of the air filter. Place the other filter on top, and keep alternating mushrooms and filters until you’ve used them all. Strap the filters to the front of the fan and run the fan until they are dry. Depending on temperature, humidity, and thickness of slices it can take anywhere from 24 hours to three days.
Optimal Preserving Procedures:
Seed Saving:

Harvest and Storage

Notes

The basic process for growing oyster mushrooms works for most mushroom species, but you will need to make adjustments. When you buy spawn, check the instructions or ask the seller for the following information so you can adjust your approach. Preferred substrate (some species need a specially prepared compost), ideal temperature during colonization, ideal temperature and humidity levels during growth. Keep conditions clean. Not all types of spawn need casing. Ask the seller or an experienced grower for advice. Casing is a layer of sterile material on top of a tray of substrate, usually a mixture of peat moss and ground limestone. Keep the casing moist so water gradually leaches through to the substrate, without making the substrate soggy. Do not ventilate the area until the tiny “pins” have appeared on the surface of the casing.Ventilating too early will trigger fruiting before the pins have broken through, growing mushrooms underneath the casing. If you get serious about a mushroom growing hobby, prepare a room with fans or an airduct for ventilation, plus a heating system and/or air conditioner to control temperature.Record temperature and humidity changes using a thermometer and hygrometer. Temperature can vary significantly between the ceiling and floor of a room. If you’regrowing on multiple shelves, put a thermometer at each level. Strong drafts can be fatal to some mushroom types. Protect the spawn from direct wind.Get rid of substrate after harvest. Making your own mushroom spawn goes to an intense level such as a mostly sterile environment. Before you begin, remove all rugs and curtains that could trap dust. Clean all surfaces with mild disinfectant, including the ceiling. Cover all openings with plastic sheeting,and make an “antechamber” at the entrance with a second layer of plastic. You can ask a nearby mycological association for local advice. There are several species we can eat but he best way to know is to check a mushroom guidebook, or ask someone who knows about collecting mushrooms for eating. Warnings: It is illegal in most countries to cultivate, transport, possess, or consume psilocybin mushrooms (magic mushrooms). Breaking any of these laws could lead to major jail time. Mushrooms produce airborne spores which can cause respiratory problems in sensitive or allergic people. Wear a respirator while near the growing mushrooms if you are concerned about this.

From the same Category

0 0 votes
Article Rating
Subscribe
Notify of
guest
0 Comments
Oldest
Newest Most Voted
Inline Feedbacks
View all comments

Contact to Listing Owner

Captcha Code
0
Would love your thoughts, please comment.x
()
x