Let´s create together.  
Edit Content
find a plant

Search by name or category

Lorem ipsum dolor sit amet, consectetur adipiscing elit. Ut elit tellus, luctus nec ullamcorper mattis, pulvinar dapibus leos.

Endive

Endive

Endive (Chicory, Belgian Endive) is a plants that have a bitter, buttery taste and are used
in ornamental gardens and as salad greens. The lettuce-like plants produce bright heads that go to seed
or bolt easily in hot weather. Endive thrives in cooler temperatures and requires ample moisture to stay
healthy.


Varieties: Bossa, Coral, Coronet, D’anjou, Damsel.

Introduction
Mr. John Doe

Head Director

Description

Optimal Time/Temperature for Germination:
Optimal Soil Conditions:
Choose a spot that will get at least 4 hours of sun per day. Endive plants thrive in full sunlight but they can also tolerate partial shade, especially in warmer climates. They will, however, struggle if planted in a spot with full shade. Choose a spot in your garden free of obstructions that may block out light. In general, “full sun” refers to 6-8 hours of sunlight per day, while “partial shade” refers to 4-6 hours of sunlight per day. Improve soil drainage with an organic soil amendment. Endive grows best in well-drained soil. Aerate your soil by working an organic material such as pearlite, vermiculite, or compost into it. Use a shovel or gardening rake to loosen the top 8 inches (20 cm) of the soil. Add about 2 inches (5.1 cm) of soil amendment material and work it into the soil evenly. Consider using above-ground beds with potting soil if your garden soil is not suitable. It’s much easier to work with the soil you have rather than adjusting it to fit your needs. Purchase a PH level test kit from a garden center or online to assess your soil. Endive grows best in soil with a pH level of 5.0 to 6.8. Purchase a nitrogen-based fertilizer and rake it into the soil to raise the pH level. If you need to lower the pH level, add elemental sulfur to the soil. Add elemental sulfur to the soil about 2 months before you plant anything so it has time to take effect.
Seed Planting Depth, Spacing and Procedure:
You can grow endive easily from seeds in well-drained soil, in a sunny place. Plant seeds directly in the ground 2-4 weeks before the last expected frost. Endive thrives in cooler temperatures. For the best results, plant it in the late winter or early spring. Aim to plant the seeds 2-4 weeks before the last frost is expected to occur. With this timing, the seedlings that emerge will have cool temperatures without suffering damage from the intense cold. Transplant the endive outside 2-4 weeks before the last frost. If you decide to plant seeds earlier than this, germinate them indoors to protect them from the cold. Make rows of seeds that are 18 inches (46 cm) apart. Scatter endive seeds by hand in evens rows on top of the soil. Keep a distance of at least 18 inches (46 cm)between each row. This will accommodate the size of fully-grown endive. Endive seeds are very thin, so distribute them in a thin layer to avoid overplanting. Cover the seeds with 1⁄4 inch (0.64 cm) of soil. Scatter a thin layer of soil over the seeds. This will add a thin layer of protection from birds, wind, or anything else that might carry away the seeds after they are planted. After planting the seeds, water the soil very lightly. Use a watering can to gently disperse water over the rows of seeds. Aim to dampen the soil,but not to saturate it. Look for the emergence of seedlings after 5-7 days. It takes roughly 5-7 days after planting for endive seeds to germinate. Note that not all of the seeds you have planted will grow successfully. Keep an eye on your garden for the emergence of seedlings around this time. Dig the seedlings out gently using your hands. Use your fingers to gently loosen thesoil around each plant. Dig about 3–4 inches (7.6–10.2 cm) down and lift the soil to make sure that you remove each plant and its entire root system in full. Alternatively, remove weaker seedlings until they have the appropriate amount of space between them. They can be eaten as microgreens. Be careful when removing seedlings from the ground to avoid damaging their roots. Re-plant each seedling 8–12 inches (20–30 cm) apart. If endive plants are left too close together they will compete for resources and your harvest will not be as successful. Dig holes that are deep enough to accommodate the seedlings’ root systems, gently place the plants in the holes and surround their roots with soil. The rows of endive seedlings should remain at least 18 inches (46 cm)apart.
Best Companion Plants and Plants that Hinder:
Goes well with Radicchio, Radish, Turnips, Parsnips, Mustard Greens and Tatsoi.

Growing Instructions

Crop Maintenance

Blanch endive heads before harvesting them to get a milder flavor. Mature endive plants have a bitter flavor that is unappealing to some. To get a milder flavor, blanch your endive plants about 2 weeks before harvesting them. This involves covering the heart of each plant from sunlight to slow chlorophyll production by: Tying the outer leaves of your endive plants together with rubber bands or string to block out sun. Do not do this for wet plants, which will result in the leaves rotting. Putting an upside-down flower pot over each plant. Making a shelter by laying a wooden board on top of supports, directly above your plants.
Moisture Requirements & Solutions:
Water around the base of your plants every 1-3 days as needed. Endive requires a lot of moisture to grow properly. Give your plants water every few days as required to keep the soil moist and prevent it from drying up. Be sure to pour water around the bottom of the plants and not on top of the leaves. Watering the leaves may cause them to rot, eventually killing the plants themselves.
Weeding Needs & Solutions:
Remove any weeds from the soil before planting endive seeds. Weeds can harm your endive plants by draining the soil of resources such as moisture and nutrients. Remove weeds by gently tugging them out of the ground when the soil is moist. For stubborn weeds, use a garden trowel to dig out the root systems.
Feeding Needs/Optimal Natural Fertilizers:
Benefits from well drained organic soil with plenty of compost to start and leaf growth is encouraged by applying nitrogen rich manure prior to planting. Application of a tea made from clean grass clippings to mature plants during the growing season will be helpful.
Pests, Diseases & Solutions:
Similar to dandelions, slugs can be troublesome. Saucers of beer or allowing ducks to forage for short periods in the garden will help control them. Flea beetles can be controlled with diatomaceous earth or by spraying with a tea made from catnip.
You can harvest endive leaves or harvest fully-grown endive heads at the end of their growing season.
When to Harvest/Number of days to maturity:
Start cutting off endive leaves as early as a month after planting. If you wish, you can make use of your endive plants once they are a month old. Gently pull away endive leaves where they meet the base of the plant. For easy removal, use a pair of small, sharp scissors. Leaves on your endive plants should be 2–3 inches (5.1–7.6 cm) long by this point.
How to Harvest:
Harvest fully-grown endive heads by severing them with a serrated knife. Endive plants will reach maturity around 12 weeks after their first planting. Use a large serrated knife to cut through the base of each plant, just above the ground. Brace the top of the endive heads while you do this to ensure even cuts. New leaves should begin to grow on the remaining base after about 2weeks. Endive will regrow until the temperature exceeds 70 °F (21 °C), which will cause bolting, or until the temperature drops below freezing
Optimal Storage temperature and conditions:
Endive is best eaten fresh and does not store well. In the fall, plants can be dug up and stored in pots in a root cellar or cool, moist basement, then brought out to a warm sunny spot for some mid-winter greens.
Optimal Preserving Procedures:
Pickled endive hearts can be preserved in jars for long term storage.
Seed Saving:
Endive needs to be overwintered in order to produce seed. For areas with severe Winters, this requires the plant to be cut down to 2”and storing the roots in a humid location in damp sand at 30-40 degrees F until spring, when they can be replanted. Endive can survive milder Winters with a thick layer of mulch. Allow the plant to flower and go to seed: when the seed heads are dry and the seeds feel dry and firm, spread them out on a surface to dry for at least 10 days. Either plant the seed head whole or clean them by putting them in a bad and applying pressure with a heavy weight. Store the seeds in a cool dry place for up to 8 years. Endive seeds can be added to micro green mixes.

Harvest and Storage

Notes

Chicory has escaped gardens and naturalized in many parts of North America with milder winters. It is recognized along roadsides and in vacant lots by it’s beautiful blue daisy-like flowers, which wilt almost immediately after being picked. It does not transplant well into the garden because it is a biennial and by the time it flowers it is almost at the end of its life cycle. Wild chicory is edible and it is worth gathering the seed from the wild to see how the resulting plant performs in the garden. In addition to growing for food, It can also be grown as a garden flower. Leaving some chicory in the garden in milder climates will result in flowering, seeding and self-sowing in the second year. Regarding varieties in the Cichorium family, this group of bitter greens is often confused because of the many names. Different names are even given to the same species depending on how the plant is grown, and in the case of the Belgian variety, called “endive” in North America but botanically grouped as chicory. The various names for the assorted Cichoriums include: Common chicory (succory, coffeeweed) Sugarloaf; Belgian (French) endive; Radicchio (red chicory, Italian chicory), of which there are several Italian-named varieties. The common name “endive” can refer to Cicorium endivia, a biennial species which is usually grown as an annual leafy salad green. The species C. endivia is available in two leaf types, depending upon the 
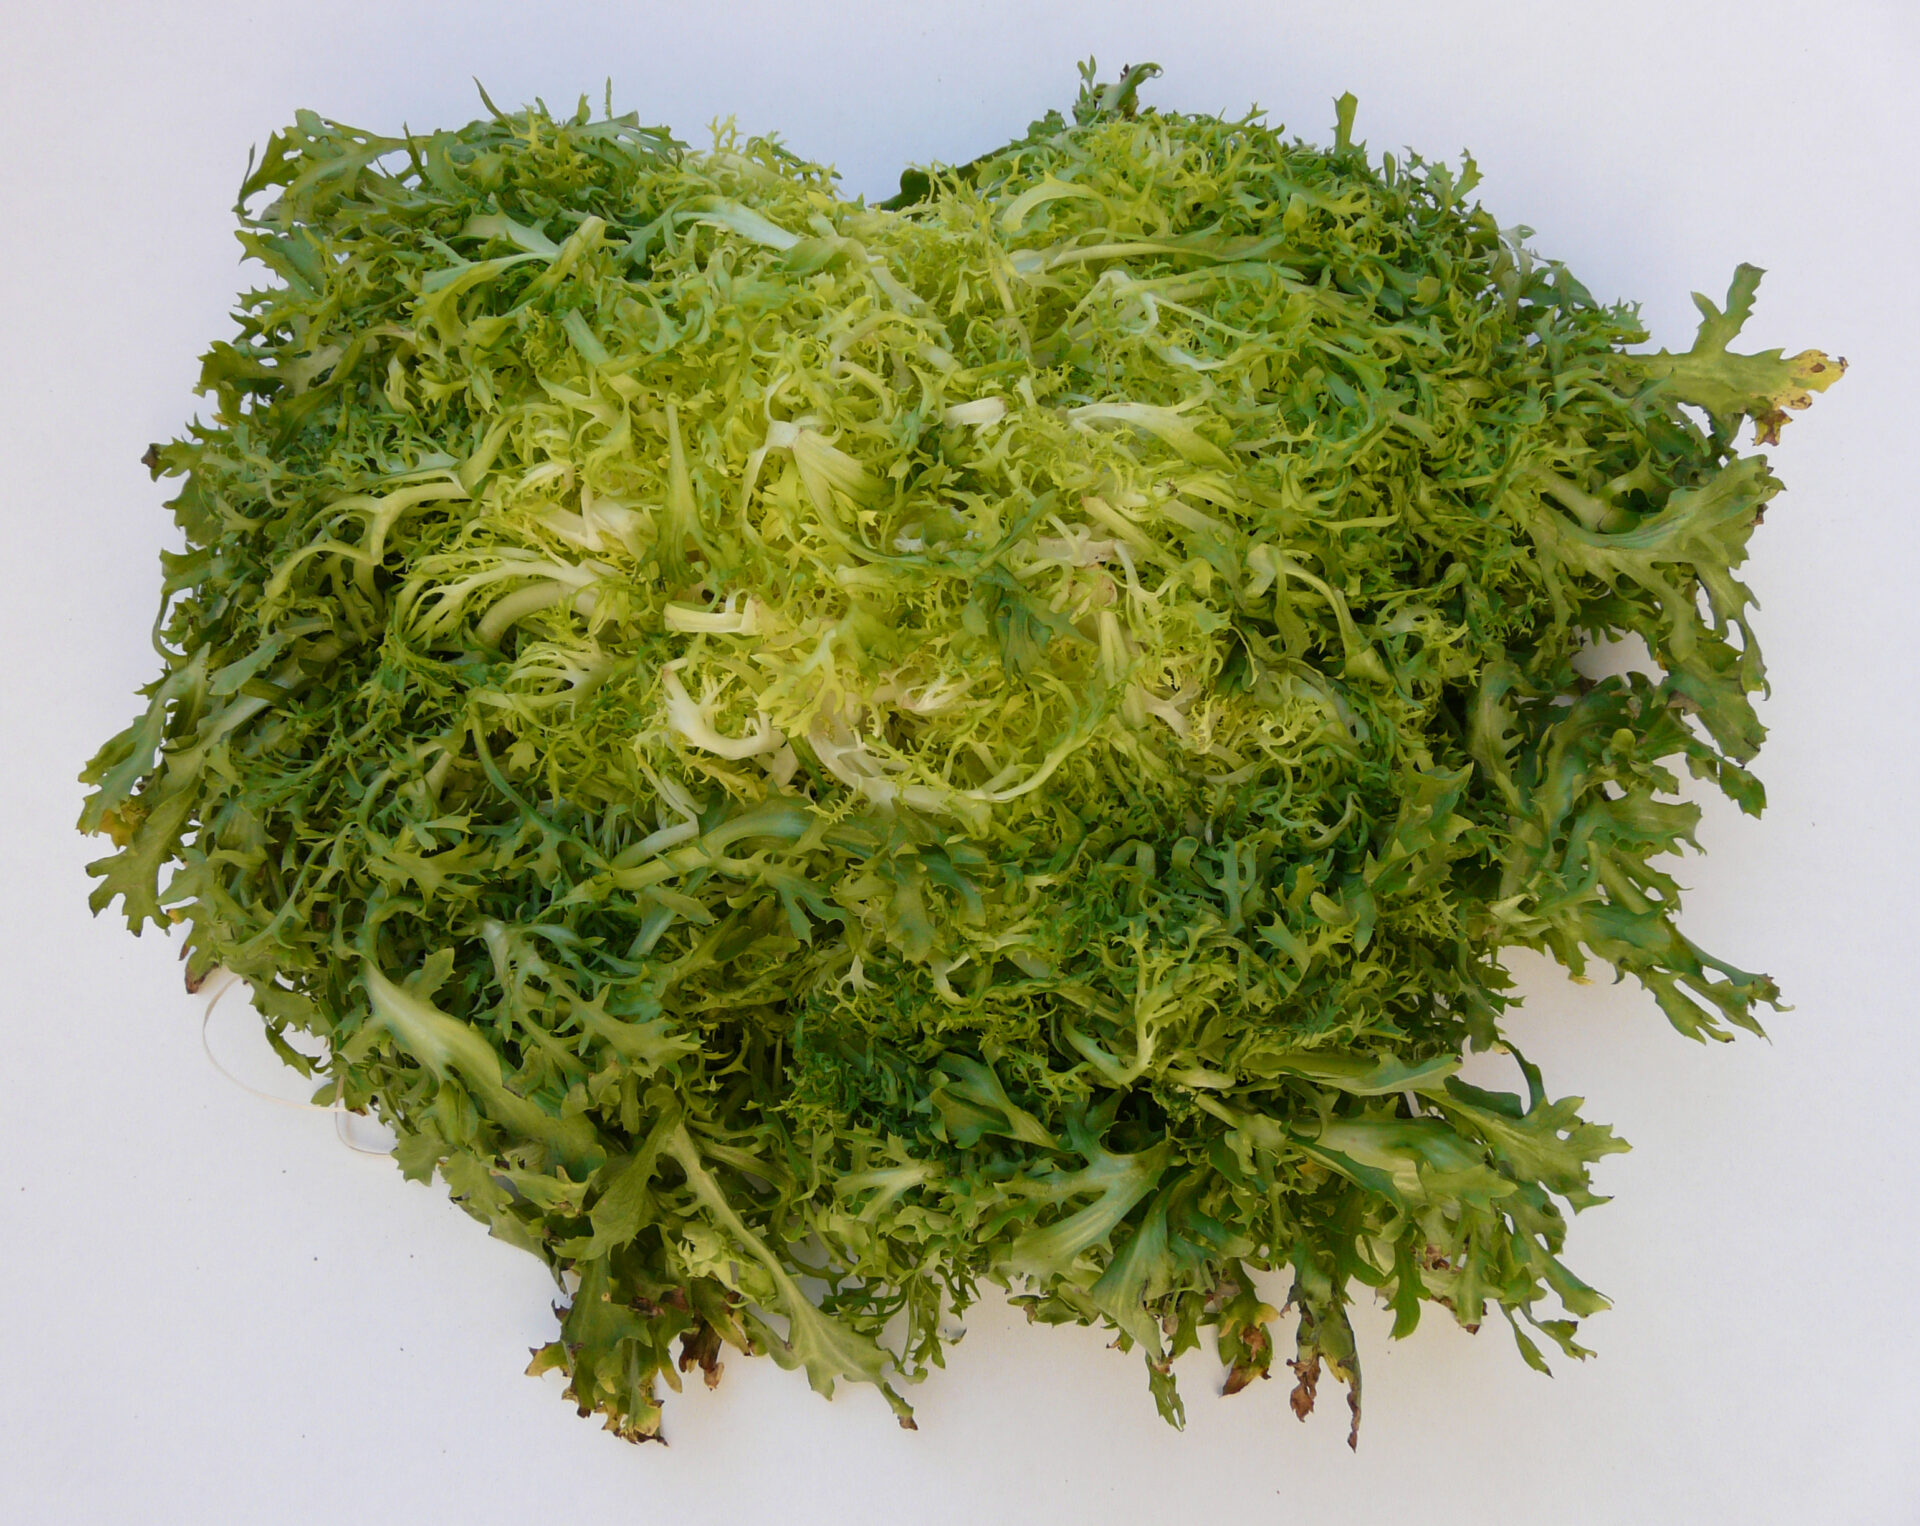
variety. The loose leaf salad green with narrow, curly leaves is usually marketed as “endive,” “curly endive,” or “Frisee.” Broadleaf varieties are often referred to as “escarole,” “Batavian endive,” “grumolo,” or “scarola.” Radicchio, also called Italian chicory, this red leaf, head-forming type of chicory is popular in salad mixes and Italian cooking. Italian Dandelion chicory – Quite similar in appearance to the leaves of dandelion weeds (Taraxacum officinale), this variety forms dense heads of bitter greens used in fresh salads and for cooking. It can also be marketed as leaf chicory, Catalogna, or asparagus endive. Puntarelle – These young, tender shoots or hearts of the chicory plant lack the leafiness of mature foliage. It is also called Catalogna di galatina, ciorcia asparago, or ciorcia di Catalogna. Common chicory – A wild variety of the European C. intybus species, this plant’s bright blue flowers dot roadsides and fields across the United States. The dandelion-like leaves of common chicory are edible. Chicory root – Coffee or coffee additives are made by roasting, grinding, and brewing the taproots of C. intybus varieties such as Magdeburg or Italian dandelion. This hot beverage originated in France during a coffee shortage in the 1800’s. It has since become popular around the world. Common names include ‘large rooted chicory’ and ‘chicoree a café’. Chicon – These tight-headed, leafy delicacies are produced by forcing various varieties of C. intybus roots. Chicons are also marketed as French endive, Belgian endive, white endive, Dutch chicory, or witloof chicory.

From the same Category

0 0 votes
Article Rating
Subscribe
Notify of
guest
0 Comments
Oldest
Newest Most Voted
Inline Feedbacks
View all comments

Contact to Listing Owner

Captcha Code
0
Would love your thoughts, please comment.x
()
x