Let´s create together.  
Edit Content
find a plant

Search by name or category

Lorem ipsum dolor sit amet, consectetur adipiscing elit. Ut elit tellus, luctus nec ullamcorper mattis, pulvinar dapibus leos.

Broccoli

Broccoli

A member of the cabbage family, developed for its clusters of immature flowers
harvested before they bloom. The most common variety is green and grows in tight clusters with a
central head but there are other varieties that don’t have a central head but produce small shoots
throughout the season. Can grow up to 2 feet tall and can be quite bushy.


Although broccoli is grown for its blossoms, the entire plant is edible raw or steamed.

Introduction
Mr. John Doe

Head Director

Description

Optimal Time/Temperature for Germination:
Seeds germinate in about 7 days in soil 45 to 90 degrees f ( 7 to 32 degrees C). Although young Broccoli plants can withstand some light frost, broccoli needs about two months without hard frosts to mature fully. It is therefore helpful to start seeds in pots indoors or in a greenhouse six or seven weeks before the last spring frost. Seedlings need to be hardened off before transplanting in to the garden after the last spring frost. Some short season varieties can be direct sown in the garden a few weeks after the last frost in spring.
Optimal Soil Conditions:
Broccoli does best in well drained, very fertile soil, mulched with straw, grass clippings or leaf mold. Do not add mulch until the soil is warm. Best condition is neutral PH.
Seed Planting Depth, Spacing and Procedure:
Sow seeds 1/2 inch deep. If started indoors, transplant seedlings 18 inches apart. Plant them deeply enough that the first true leaves are just above soil level. For direct sowing outdoors, plant in hills of three or four seeds, leaving 1 1/2 feet between hills, or sow seeds two inches apart in a row. Gradually thin plants as they get larger (seedlings can be eaten raw or steamed) until the plants are 18 inches apart.
Best Companion Plants and Plants that Hinder:
Beets, Potatoes, Onions, Celery.

Growing Instructions

Crop Maintenance

Moisture Requirements & Solutions:
Plants need to be watered weekly to have adequate moisture but they should not sit in moisture with poor drainage. Adding 4 inches of mulch when plants are mature helps keep moisture in.
Weeding Needs & Solutions:
Roots are close to the surface so caution is advised if cultivating between rows. Mulch is recommended to reduce weeds.
Feeding Needs/Optimal Natural Fertilizers:
Broccoli benefits from Nitrogen, phosphorus and calcium. Leaf mold provides phosphorus. Watering with manure tea or fish fertilizer ensures that they have a good supply of nitrogen. Crushed egg shells or bone ash mixed in the soil provides calcium.
Pests, Diseases & Solutions:
Because Broccoli is a member of the cabbage family, it attracts cabbage moths. Hand picking and feeding to the chickens or allowing ducks to forage in the patch helps. Planting your broccoli near rosemary, sage and thyme will help repel them.
When to Harvest/Number of days to maturity:
Plants mature 60 to 70 days from transplanting, 80 to 90 days from direct sowing. Once flower buds start maturing they can be harvested on an ongoing basis as long as they are not cut too close to the stem, the plant will continue to produce flower buds until it gets a hard frost.
How to Harvest:
When the first flower buds are full but not opening, cut the central head at the stem. This will result in smaller, lateral heads forming which increases the harvest. Heads can be cut as they mature. The harvest can be extended with crop covers in the fall.
Optimal Storage temperature and conditions:
Broccoli can keep in the fridge for three to five days but it should be eaten as soon as possible.
Optimal Preserving Procedures:
Broccoli is best eaten fresh. It can be frozen but the flavour and nutrition is compromised.
Seed Saving:
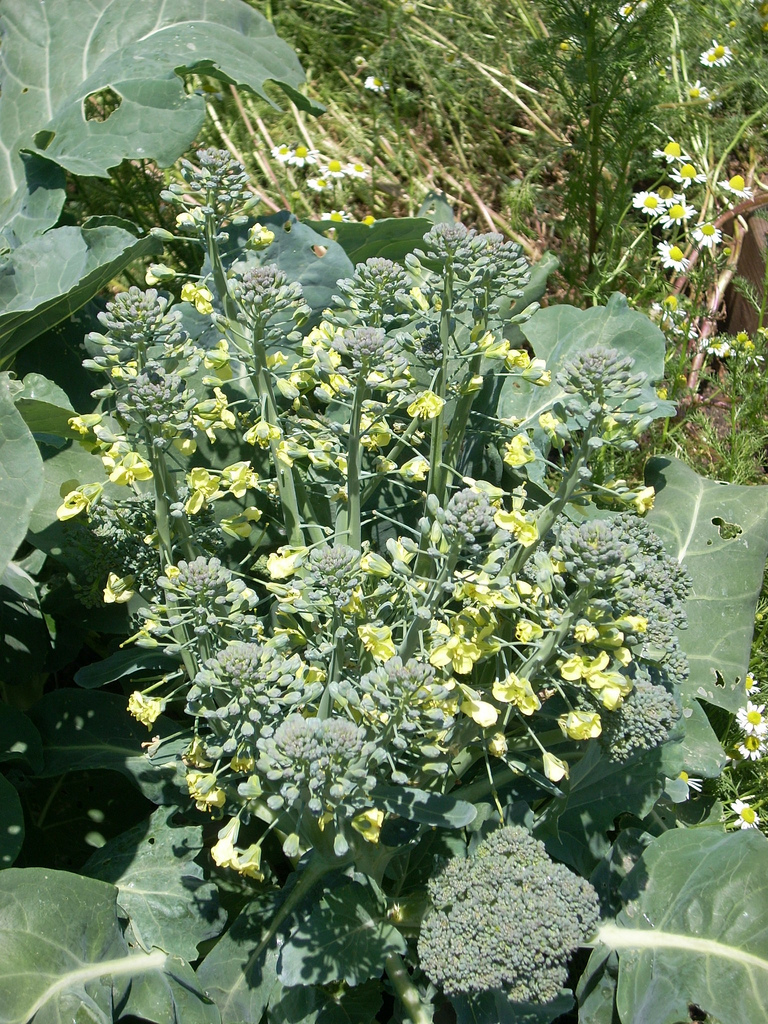
It is important to choose heritage varieties for seed saving as hybrid varieties will not result in good seeds. If you allow some of the broccoli plants to bloom, yellow flowers will form on the buds, they will be pollinated by bees and produce seed pods which can be hung to dry once mature. The key is to have enough time before the first killing frost for seed pods to mature. It is advisable to hang the seed pods with a paper bag over them because they pop open and release seeds as they dry.

Harvest and Storage

Notes

From the same Category

0 0 votes
Article Rating
Subscribe
Notify of
guest
0 Comments
Oldest
Newest Most Voted
Inline Feedbacks
View all comments

Contact to Listing Owner

Captcha Code
0
Would love your thoughts, please comment.x
()
x